
Cookie Cups with Fudge Filling
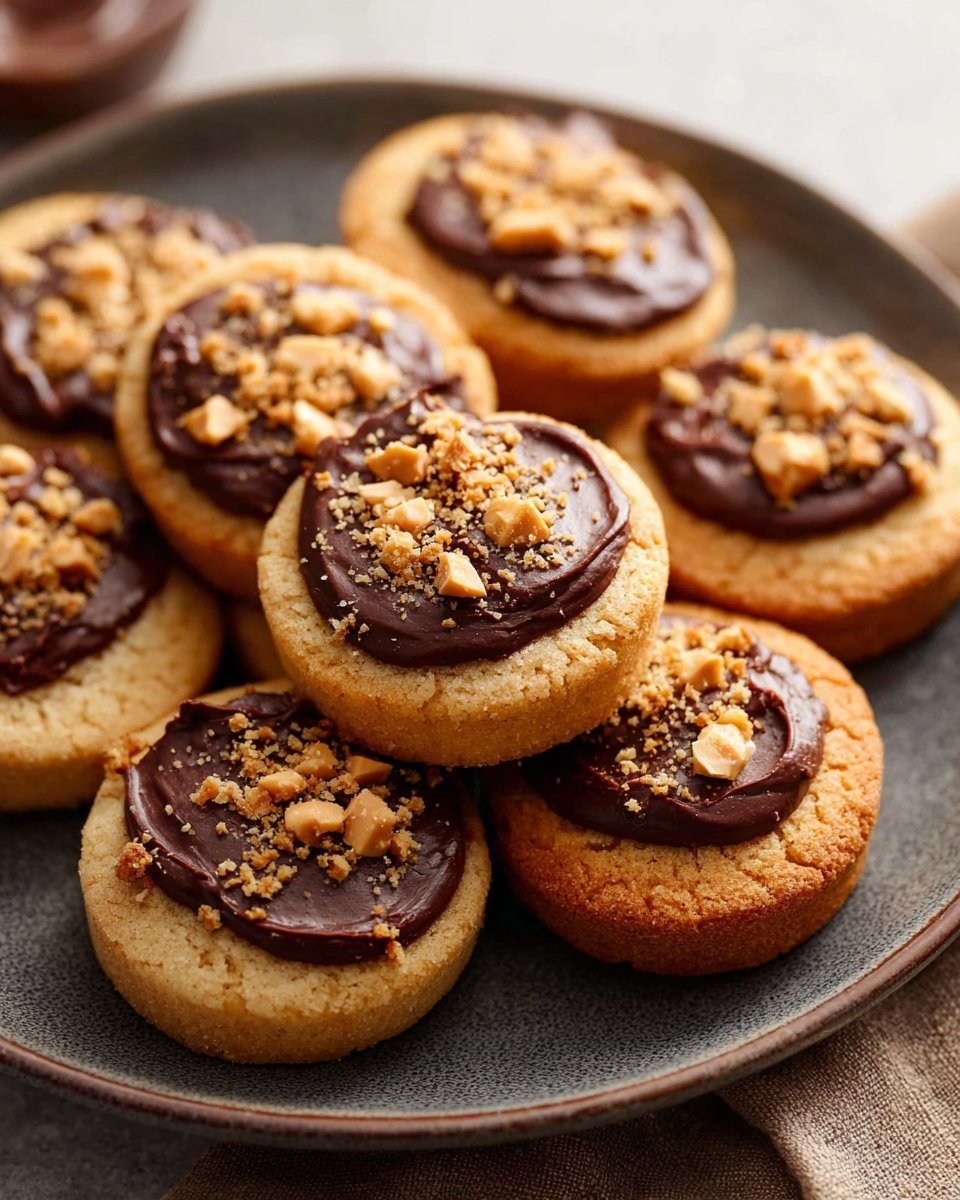
Cookie Cups with Fudge Filling are little bites of joy that pair a tender, peanut butter cookie crust with a silky, mascarpone-studded chocolate fudge. Each cup has a golden, slightly crisp exterior with a soft, chewy center that cradles a rich, creamy filling. The peanut butter adds a savory warmth while the semi-sweet chocolate brings just the right amount of bittersweet contrast. The aroma while baking is a comforting mix of toasted peanut butter and melting chocolate that fills the kitchen and makes these perfect for parties, holiday dessert spreads, or an indulgent weeknight treat. If you enjoy bite-sized desserts, these are a great make-ahead option that travel well to potlucks and picnics. For another cup-style cookie with a bright profile, try the mini lemon cookie cups for a citrus contrast to this rich version.
Ingredients
- 1/2 cup unsalted butter, softened — for richness and tenderness in the cookie shell.
- 1/2 cup packed light or dark brown sugar — adds moisture and caramel notes.
- 1/2 cup granulated sugar — balances sweetness and helps with slight crispness.
- 1 large egg — binds the dough and adds structure.
- 2/3 cup creamy peanut butter — provides flavor and a soft, chewy texture.
- 1 teaspoon pure vanilla extract — enhances all flavors.
- 1 and 1/4 cups all-purpose flour — the base of the cookie dough for structure.
- 1/2 teaspoon baking soda — helps the cookies rise slightly and become tender.
- 1/2 teaspoon salt — balances sweetness and enhances peanut butter flavor.
- 8 ounces semi-sweet chocolate, chopped — the base of the fudge filling.
- 1 teaspoon vegetable oil or coconut oil — smooths the melted chocolate for shine.
- 8 ounces mascarpone cheese — makes the fudge filling luxuriously creamy.
- 1/2 cup Heath toffee bits or chopped peanuts (optional) — adds crunch and an extra flavor layer when sprinkled on top.
For a simple butter and sugar cookie foundation, you might also enjoy recipes like 3-ingredient sugar cookies for inspiration.
Step-by-Step Instructions
- In a large bowl, cream the softened butter, packed brown sugar, and granulated sugar until the mixture is light and creamy. This takes about 2 to 3 minutes with a mixer on medium speed.
- Add the large egg and beat until fully combined. Scrape the bowl once to make sure everything is incorporated.
- Mix in the creamy peanut butter and pure vanilla extract until the dough is smooth and even in color.
- Gradually incorporate the all-purpose flour, baking soda, and salt. Mix just until combined, avoiding overmixing. Chill the dough for at least 1 hour to firm it up and make it easier to shape.
- Preheat the oven to 325°F (163°C). Prepare mini muffin pans by greasing them lightly so the cookie cups release easily after baking.
- Form cookie cups by scooping chilled dough into the prepared mini muffin pan. Press the dough down and create a shallow indent in the center of each scoop to form the cup shape. A small measuring spoon or your thumb works well for this.
- Bake the cookie cups for 14 to 15 minutes, or until the edges are lightly golden. Rotate the pans halfway through baking if your oven has hot spots.
- Allow the cookie cups to cool in the pan for a few minutes, then transfer to a wire rack to cool completely. If the centers have puffed, gently press them down while still warm to reshape the cups.
- For the fudge filling, melt the chopped semi-sweet chocolate with the teaspoon of vegetable oil or coconut oil in short bursts in the microwave or using a double boiler until smooth. Then fold in the mascarpone cheese until the mixture becomes a glossy, smooth fudge.
- Spoon the fudge filling into each cooled cookie cup and top with the optional Heath toffee bits or chopped peanuts for crunch. Chill briefly if you prefer a firmer filling.
For tips on chilling dough and handling soft cookie batters, see a related guide such as rice krispie chocolate chip cookies with soft chew.
Recipe Details
- Prep Time: 1 hour 20 minutes (includes chilling)
- Cook Time: 14 to 15 minutes per batch
- Total Time: About 1 hour 35 minutes
- Servings: 24 cookie cups
- Calories: Approximately 230 calories per cookie cup
Tips, Storage & Variations
-
Tips
- Chill the dough at least 1 hour. This makes it easier to shape consistent cups and prevents excessive spreading in the oven.
- Use a small cookie scoop for even portions and a uniform bake.
- If the centers puff during baking, warm them slightly and press with the back of a spoon to reform the indent.
- For inspiration on holiday cookie styling and flavor twists, check a festive sugar cookie guide like cozy up with holiday sugar cookies.
-
Storage
- Store finished cookie cups in an airtight container in the refrigerator for up to 5 days.
- Bring to room temperature for 15 to 20 minutes before serving for a softer filling.
-
Freezing
- Freeze baked, unfilled cookie cups in a single layer on a baking sheet until firm, then transfer to a freezer-safe bag for up to 3 months.
- Thaw in the refrigerator before filling with the fudge mixture.
-
Flavor Variations using existing ingredients only
- Peanut crunch: Sprinkle chopped peanuts on top instead of toffee bits for a pure nut finish.
- Toffee boost: Use Heath toffee bits for extra caramelized crunch.
- Less sweet filling: Reduce the amount of chocolate slightly and increase mascarpone by a small amount for a milder chocolate cream.
Frequently Asked Questions
Q: Can I make the dough ahead of time?
A: Yes, you can refrigerate the dough for up to 24 hours before scooping and baking.
Q: Can I use crunchy peanut butter instead of creamy?
A: Yes, crunchy peanut butter works and adds texture, but it may make the dough slightly coarser.
Q: Do I have to chill the dough?
A: Chilling helps the dough hold its shape while baking and makes it easier to form cups.
Q: How do I prevent the centers from puffing?
A: Gently press centers while warm to reshape, and avoid overfilling with dough when forming cups.
Q: Is mascarpone necessary for the filling?
A: Mascarpone creates the silky texture; omitting it will change the filling texture, so it is recommended.
Q: Can I use a different chocolate type?
A: Yes, you can use other semi-sweet or bittersweet chocolate, keeping the same weight for melting.
People Also Ask
Q: What pan is best for making cookie cups?
A: A mini muffin pan works best to shape small, uniform cookie cups.
Q: How long should cookie cups cool before filling?
A: Cool completely on a wire rack, about 20 to 30 minutes, to prevent the filling from melting.
Q: Can I make larger cookie cups in a regular muffin pan?
A: Yes, but adjust baking time and expect fewer servings.
Q: Will the fudge filling set firm in the refrigerator?
A: The filling firms slightly in the refrigerator but stays creamy because of the mascarpone.
Q: Can I use salted butter instead of unsalted?
A: You can, but reduce additional salt if using salted butter to avoid oversalting.
Q: Are these cookie cups suitable for parties?
A: Yes, they are bite-sized, easy to serve, and travel well for gatherings.
Q: How do I melt chocolate without burning it?
A: Melt in short bursts in the microwave, stirring frequently, or use a double boiler and remove from heat as soon as smooth.
Q: Can I omit the optional topping?
A: Yes, the cups are delicious without the topping, though the topping adds texture.
Conclusion
These Cookie Cups with Fudge Filling are a delightful combination of peanut butter cookie and creamy chocolate fudge, perfect for sharing or nibbling with a coffee. If you want to explore another take on filled cookie cups with a similar fudgy center, see Fudge Filled Chocolate Chip Cookie Cups for inspiration. For a peanut butter-forward variation and technique notes, take a look at Peanut Butter Fudge Puddles (Cookie Cups) – Sally’s Baking Addiction. Try this recipe, tweak the topping to your taste, and share your results with friends and family for cozy, chocolatey smiles.
Cookie Cups with Fudge Filling
Ingredients
Method
- In a large bowl, cream the softened butter, packed brown sugar, and granulated sugar until the mixture is light and creamy. This takes about 2 to 3 minutes with a mixer on medium speed.
- Add the large egg and beat until fully combined. Scrape the bowl once to make sure everything is incorporated.
- Mix in the creamy peanut butter and pure vanilla extract until the dough is smooth and even in color.
- Gradually incorporate the all-purpose flour, baking soda, and salt. Mix just until combined, avoiding overmixing. Chill the dough for at least 1 hour to firm it up and make it easier to shape.
- Preheat the oven to 325°F (163°C). Prepare mini muffin pans by greasing them lightly so the cookie cups release easily after baking.
- Form cookie cups by scooping chilled dough into the prepared mini muffin pan. Press the dough down and create a shallow indent in the center of each scoop to form the cup shape.
- Bake the cookie cups for 14 to 15 minutes, or until the edges are lightly golden. Rotate the pans halfway through baking if your oven has hot spots.
- Allow the cookie cups to cool in the pan for a few minutes, then transfer to a wire rack to cool completely.
- If the centers have puffed, gently press them down while still warm to reshape the cups.
- For the fudge filling, melt the chopped semi-sweet chocolate with the teaspoon of vegetable oil or coconut oil in short bursts in the microwave or using a double boiler until smooth.
- Then fold in the mascarpone cheese until the mixture becomes a glossy, smooth fudge.
- Spoon the fudge filling into each cooled cookie cup and top with the optional Heath toffee bits or chopped peanuts for crunch.
- Chill briefly if you prefer a firmer filling.