
Cheesecake Jars
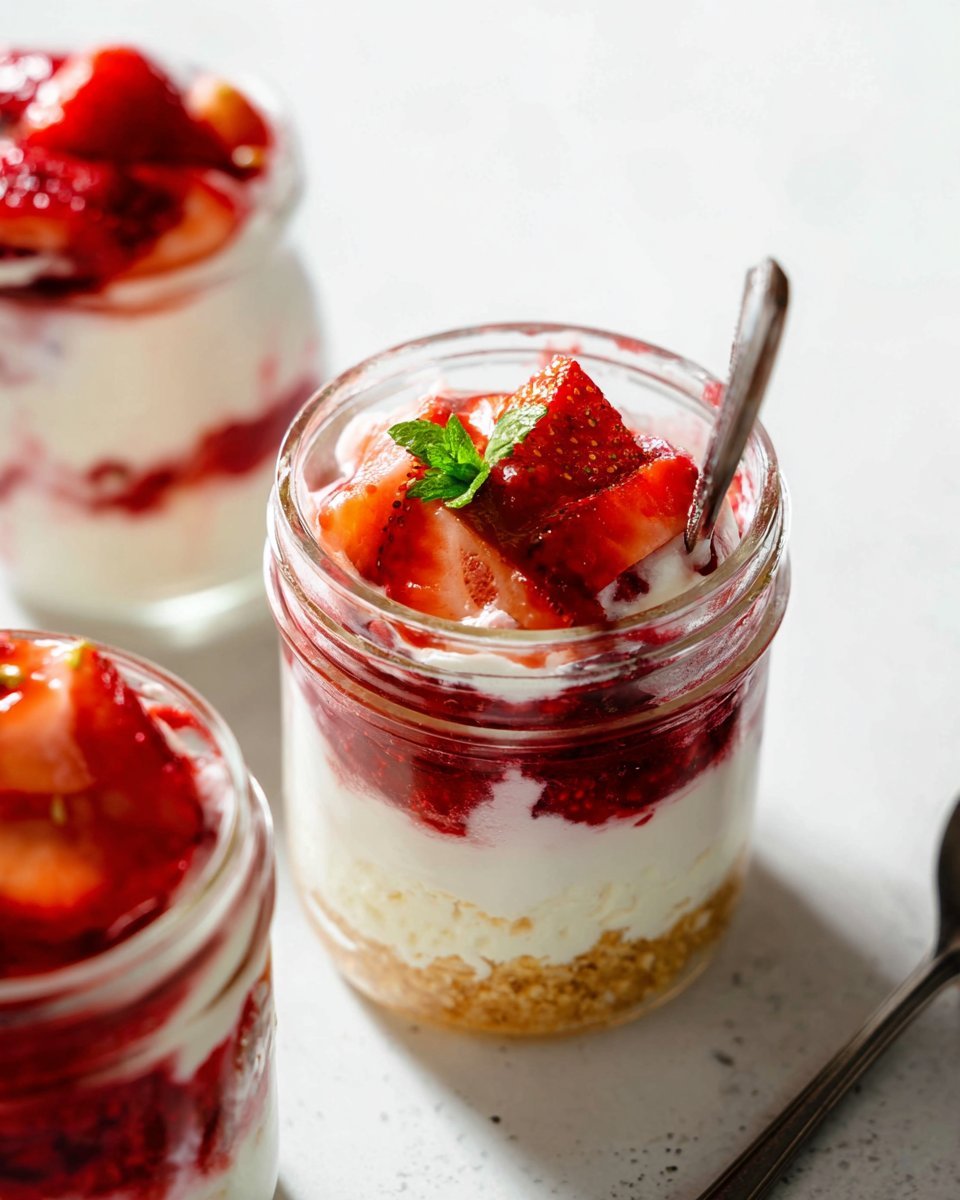
Cheesecake Jars are an easy, elegant way to enjoy rich, creamy cheesecake without the fuss of a full cake. These individual desserts layer a buttery graham cracker crust with a light, velvety cream cheese filling, all served in jars that are perfect for picnics, dinner parties, or a simple weeknight treat. Expect a balance of sweet and tangy from the cream cheese, sugar, and a hint of lemon, with a satisfyingly crunchy base and an airy, mousse-like topping. The aroma is buttery and slightly citrusy, while the texture alternates between crisp crumbs and smooth, cloud-like filling. These jars are ideal when you want a make-ahead dessert, portion control, or a pretty presentation. They chill quickly, travel well, and can be customized at the last minute with fresh fruit, chocolate sauce, or a swirl of whipped cream.
Ingredients
-
2 Tablespoons unsalted butter, melted
Provides the fat to bind the graham cracker crumbs and create a crisp crust. -
1 cup graham cracker crumbs
Forms the crunchy base; use finely crushed crackers for an even crust. -
1 cup heavy cream, cold
Whipped to stiff peaks to lighten the filling and create a mousse texture. -
8 ounces full-fat brick cream cheese, softened
The creamy, rich base of the filling; bring to room temperature for smooth mixing. -
1/3 cup granulated sugar
Sweetens the filling; adjust slightly on taste but do not change quantities. -
2 Tablespoons sour cream, at room temperature
Adds a touch of tang and silkiness to the filling. -
1 teaspoon lemon juice
Brightens the flavor and balances the richness. -
1/2 teaspoon pure vanilla extract
Adds warm, rounded flavor to the filling. -
Toppings (fruit, chocolate sauce, or whipped cream)
Optional finishing touches to personalize each jar just before serving.
Step-by-step Instructions
-
Prepare your jars by gathering 6 clean 8-ounce jars or 10 6-ounce jars.
Tip: Warm jars dry in hot water and let cool so they are clean and condensation-free. -
Make the crust by melting the butter, mixing in graham cracker crumbs, and pressing the mixture into the jars.
Tip: Press firmly with the bottom of a spoon or a small glass to create an even, compact crust. -
Whip the heavy cream until stiff peaks form.
Tip: Use a cold bowl and cold beaters for best whipping results. -
Beat the cream cheese with sugar, sour cream, lemon juice, and vanilla until smooth.
Tip: Beat just until smooth to avoid overworking the cream cheese and creating lumps. -
Gently fold the whipped cream into the cream cheese mixture.
Tip: Use a spatula and fold in thirds to keep the mixture light and airy. -
Layer a generous amount of filling on top of the crust in each jar.
Tip: Leave a little space at the top for toppings if you plan to add them later. -
Chill the jars for at least 30 minutes before serving.
Tip: Chilling helps the filling set and the flavors meld; chill longer if you prefer a firmer texture. -
Add desired toppings just before serving. Enjoy chilled.
Tip: Fresh fruit stays vibrant when added right before serving, while chocolate sauce can be drizzled for a richer option.
Recipe Details
- Prep Time: 20 minutes
- Cook Time: 0 minutes
- Total Time: 50 minutes (includes at least 30 minutes chilling)
- Servings: Makes 6 servings in 8-ounce jars or 10 servings in 6-ounce jars
- Calories: Approximately 420 kcal per 8-ounce jar, or about 250 kcal per 6-ounce jar
FAQ
Q: Can I make these jars ahead of time?
A: Yes, assemble and chill up to 3 days ahead; add toppings just before serving.
Q: Do I need an electric mixer?
A: A mixer makes whipping easier, but you can whip cream and beat filling by hand with effort.
Q: Can I use low-fat cream cheese?
A: The recipe is designed for full-fat brick cream cheese for best texture and flavor.
Q: How long do these jars last in the refrigerator?
A: Store covered in the fridge for up to 3 to 4 days.
Q: Are these jars safe to transport?
A: Yes, seal lids tightly and keep chilled until serving for best results.
Q: What size jars are recommended?
A: Use either 6 clean 8-ounce jars or 10 6-ounce jars as directed.
People Also Ask
-
How do I get a firm crust in a jar?
Press graham crumbs firmly and chill the jars to help the crust set. -
Can I layer other fillings between crust and topping?
Yes, small amounts of fruit or chocolate sauce can be added between layers before chilling. -
Will the whipped cream deflate overnight?
It may soften slightly; folding properly and chilling helps maintain structure. -
Can I double this recipe?
Yes, ingredients scale linearly; prepare more jars as needed using the same method. -
Is it better to chill or freeze cheesecake jars?
Chilling is best for texture; freezing is possible but may change cream texture. -
How do I prevent soggy crusts?
Keep toppings separate until serving and ensure the crust is firmly packed. -
What is the best way to serve these at a party?
Assemble in advance, chill, and add toppings just before guests arrive for a polished presentation.
Tips, Storage & Variations
-
Practical tips: Soften the cream cheese to room temperature for smooth mixing. Use cold cream and a chilled bowl to achieve stable whipped cream. Press the crust firmly to avoid crumbly bottoms.
-
Storage: Store assembled jars with lids in the refrigerator for up to 3 to 4 days. Add toppings just before serving to maintain freshness.
-
Freezing advice: These jars can be frozen for up to 1 month. Seal tightly and thaw overnight in the refrigerator before serving. Note that texture may be slightly softer after freezing.
-
Flavor variations using existing ingredients only:
- Fruit-focused: Top with fresh fruit for a bright contrast.
- Chocolate-luxe: Drizzle chocolate sauce over the filling for a richer dessert.
- Creamy cloud: Add an extra dollop of whipped cream on top for an even lighter mouthfeel.
Conclusion
These Cheesecake Jars are a simple, crowd-pleasing dessert that looks special but comes together quickly. They are perfect for make-ahead entertaining, portion-controlled treats, or a last-minute sweet finish to any meal. If you want to explore different no-bake jar presentations, check out this helpful No-Bake Cheesecake Jars – Sally’s Baking Addiction for inspiration. For another creative jar idea using a different technique, see this Slow Cooker Cheesecake in a Jar – Sprinkle Bakes. Give these a try, tweak the toppings to your taste, and share your favorite combinations with friends for a cozy, delicious moment.
Cheesecake Jars
Ingredients
Method
- Prepare your jars by gathering 6 clean 8-ounce jars or 10 6-ounce jars.
- Make the crust by melting the butter, mixing in graham cracker crumbs, and pressing the mixture into the jars.
- Whip the heavy cream until stiff peaks form.
- Beat the cream cheese with sugar, sour cream, lemon juice, and vanilla until smooth.
- Gently fold the whipped cream into the cream cheese mixture.
- Layer a generous amount of filling on top of the crust in each jar.
- Chill the jars for at least 30 minutes before serving.
- Add desired toppings just before serving. Enjoy chilled.