
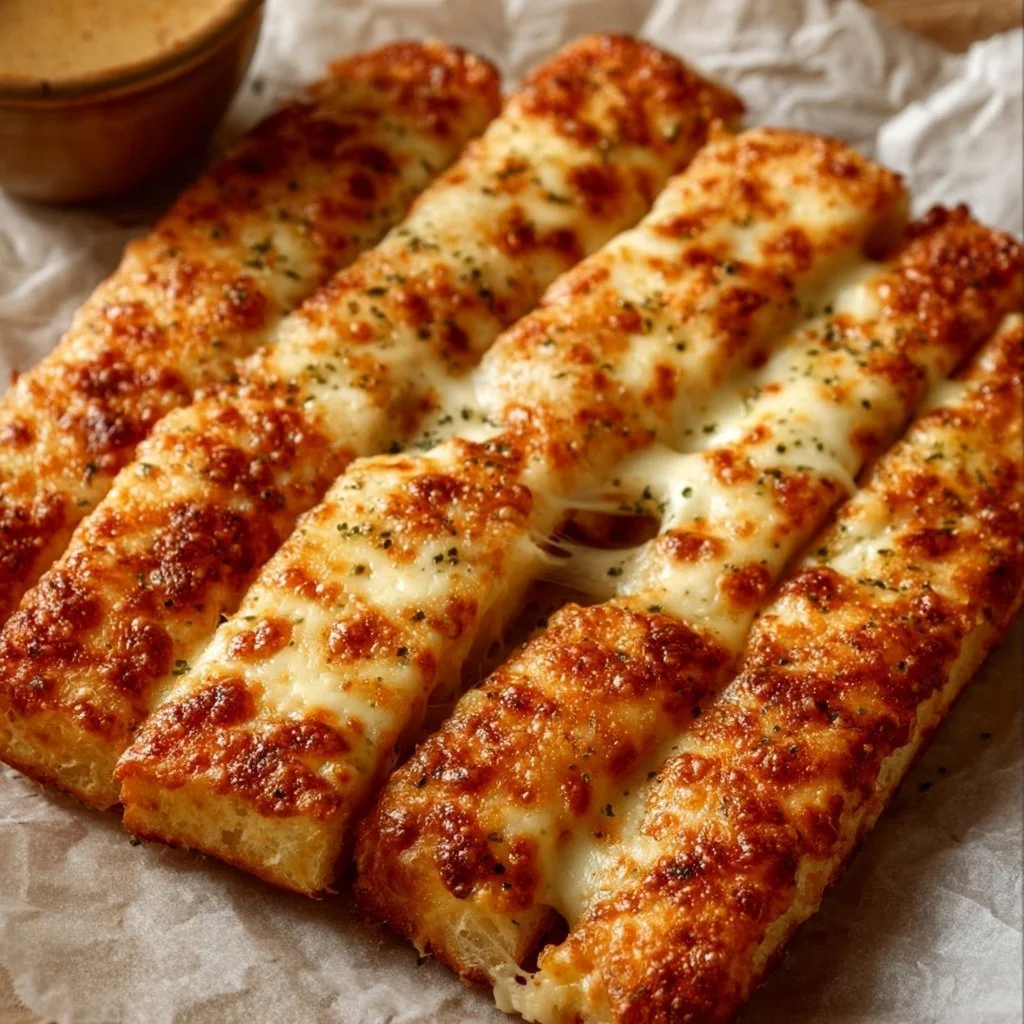
Homemade Cheesy Breadsticks: A Family Favorite
There’s something irresistibly delicious about biting into a warm, cheesy breadstick that’s golden brown and just oozing with flavor. Imagine the smell wafting through your kitchen as they bake – it’s a blend of buttery goodness and the rich aroma of melting cheese. Perfectly chewy on the inside with a crispy exterior, these Homemade Cheesy Breadsticks are more than just a snack; they’re a comforting, family-friendly treat that everyone will love. Whether it’s a weeknight dinner or a gathering with friends, these breadsticks are sure to impress and satisfy. So, roll up your sleeves and get ready to indulge in a simple yet delightful recipe that will bring smiles and compliments all around!
Understanding This Recipe
Cheesy breadsticks primarily hail from Italian cuisine, where bread and cheese play an integral role in various dishes. They are often served as appetizers or snacks, perfect for dipping into marinara sauce or garlic butter. This recipe takes inspiration from classic cheese bread, enriching it with a blend of shredded cheeses and seasonings that elevate its flavor. Ideal for busy weeknights or festive get-togethers, homemade cheesy breadsticks are versatile and can be customized to suit everyone’s taste, making them a hit with kids and adults alike.
Using techniques like baking for a perfect crust and melting gooey cheese inside achieves the ultimate flavor and texture combination. Traditional recipes often require complex preparation, but this homemade version streamlines the process without cutting corners on the deliciousness. Baking is a simple takeaway that allows the flavors to marry and develop in a way that truly sings. You can enjoy them fresh out of the oven, where the aroma fills your home with warmth and coziness, making them a perfect addition to any meal.
Why You’ll Love This Recipe
When creating your homemade cheesy breadsticks, you’ll appreciate the balance of ease and tasty satisfaction they bring. This recipe is accessible for even the most novice cooks, ensuring that you don’t have to be a culinary whiz to impress your family or guests. Each bite will be an explosion of melted cheese and buttery delight, making it nearly impossible to stop at just one! Here are a few reasons you’ll want to whip these up tonight:
- Ease of preparation: With just a handful of ingredients and simple steps, you’ll have cheesy breadsticks ready with minimal fuss.
- Flavor complexity: The combination of cheeses and seasonings creates a depth of flavor that enhances any main dish or stands beautifully on its own.
- Family-friendly or kid-approved: Cheesy breadsticks are universally loved; even picky eaters will be reaching for seconds.
- Budget-friendly or ingredient flexibility: The ingredients are often pantry staples, so you can whip it up whenever the craving strikes, and you can easily substitute ingredients based on what you have on hand.
Your Guide to Making Homemade Cheesy Breadsticks at Home
To create these delectable cheesy breadsticks, we’ll be mixing some simple ingredients, allowing them to rise, and then baking to perfection. The best part? It takes around 30 minutes from prep to plate! You will need basic kitchen tools like a mixing bowl, a baking sheet, and parchment paper for easy clean-up. Let’s get started creating an irresistible treat for your family!
Ingredients
-
2 cups all-purpose flour
- This is the base of your breadsticks providing structure and texture.
-
1 cup shredded mozzarella cheese
- The heart of the cheesy flavor; mozzarella melts beautifully, creating that stretchy texture.
-
1/2 cup grated Parmesan cheese
- Adds a rich, nutty flavor complementing the mozzarella perfectly.
-
1 packet (2 1/4 teaspoons) active dry yeast
- This is what helps the dough rise, giving your breadsticks a fluffy texture.
-
1 teaspoon sugar
- A small amount to activate the yeast, helping it to bloom.
-
1 teaspoon salt
- This enhances the flavors and helps balance the richness of the cheeses.
-
1 cup warm water (110°F-115°F)
- Warm water activates the yeast. Make sure it’s not too hot, as it can kill the yeast.
-
2 tablespoons melted butter
- For brushing the tops, adding an irresistible golden sheen and flavor.
Directions
-
Activate the yeast: In a bowl, dissolve the sugar in warm water and sprinkle the yeast on top. Let it sit for about 5-10 minutes until frothy.
-
Mix the dry ingredients: In a large mixing bowl, combine the flour and salt, stirring well to combine.
-
Combine wet and dry ingredients: Pour the yeast mixture into the flour mixture and stir until a dough begins to form.
-
Add cheese: Stir in the shredded mozzarella and grated Parmesan until evenly distributed. The dough will be slightly sticky.
-
Knead: Lightly flour a surface and knead the dough for about 5-6 minutes, until smooth and elastic. The dough should spring back when you poke it.
-
First rise: Place the dough in a lightly oiled bowl, cover with a kitchen towel or plastic wrap, and let it rise in a warm place for about 30 minutes, or until doubled in size.
-
Shape and bake: Preheat your oven to 400°F (200°C). Punch down the risen dough and roll it out to your desired thickness on a floured surface. Place it on a parchment-lined baking sheet, cut into strips, brush the melted butter on top, and bake for 15-20 minutes or until golden brown.
Delicious Pairings for Homemade Cheesy Breadsticks
Serving your cheesy breadsticks comes with various delightful options that complement their buttery, cheesy goodness. A warm marinara sauce is a classic pairing, offering a delicious contrast with its tangy sweetness and vibrant flavor. You can also serve them alongside a rich, creamy garlic dip that echoes the flavor of the breadsticks, or simply enjoy them with a drizzle of olive oil, adding a touch of herbal freshness.
Consider serving them alongside classic Italian dishes like spaghetti or lasagna to create a cohesive meal, or enjoy them with a fresh garden salad which can balance the richness of the breadsticks. For a casual gathering, serve a plate of cheesy breadsticks with charcuterie and cheese boards to invite guests to nibble and enjoy the flavors.
Pro Tips for the Best Homemade Cheesy Breadsticks
Perfecting your cheesy breadsticks can often come down to technique and small adjustments that make a big difference. Here are some tips to ensure your breadsticks turn out perfectly:
-
Ingredient swaps or upgrades: Feel free to experiment with different cheeses, like Cheddar or Gouda, to take the flavor in a new direction.
-
Spice adjustments: Add dried herbs or garlic powder to the dough for an extra layer of flavor. You could even sprinkle Italian seasoning on top before baking!
-
Equipment advice: Consider using a stand mixer with a dough hook for easier kneading, especially if you’re making a larger batch.
-
Storage tips: Store leftovers in an airtight container in the fridge for up to three days, and they will maintain their cheesy goodness.
-
Mistakes to avoid: Make sure your water is warm, not hot! Hot water can kill the yeast and prevent the dough from rising. If it doesn’t rise, your breadsticks won’t have that delightful fluffy texture.
Variations & Add-Ins
Feel free to switch things up with these fun variations of homemade cheesy breadsticks:
-
Cheesy Garlic Knots: Knot your breadstick dough and brush with garlic butter before baking for an extra kick.
-
Herb-Infused Breadsticks: Add finely chopped fresh herbs like rosemary or basil to the dough for a fragrant twist.
-
Spicy Pepperoni Breadsticks: Mix in diced pepperoni or spicy sausage for a zesty punch that’s perfect for game day!
Kid-Friendly Version
To make these cheesy breadsticks even more appealing to kids, focus on fun shapes! You could use cookie cutters to create themed breadsticks for special occasions or simply cut them into fun forms. Adding a mild cheese mix might also please younger palates.
Encourage kids to help with the rolling and shaping process; this adds an element of engagement and excitement. Throw in some colorful toppings like sesame seeds or Parmesan sprinkle for added texture and fun presentation!
Storing and Reheating Tips
Storing your homemade cheesy breadsticks properly will ensure they maintain their deliciousness. For best results, allow them to cool completely before placing them in an airtight container. They will keep well in the refrigerator for up to three days, but I recommend enjoying them fresh out of the oven. If you have leftovers, consider layering parchment paper between them to help prevent sticking.
When it comes to reheating, the oven is the best method to retain their texture. Preheat your oven to 350°F (175°C) and bake for about 10 minutes, or until warmed through. You can also use an air fryer for an extra crispy exterior – heating at 350°F for 5-7 minutes. If you want to freeze any baked breadsticks, ensure they are cooled completely, layer with parchment paper, and store them in a freezer-safe bag for up to three months.
FAQs
Can I make these ahead of time?
Yes, you can prepare the dough and store it in the fridge overnight. Just let it come to room temperature before shaping and baking.
What can I substitute for mozzarella cheese?
If you don’t have mozzarella, you can use any cheese that melts well – Colby Jack, cheddar, or even a vegan cheese alternative work nicely.
Can I add different seasonings?
Absolutely! Feel free to incorporate garlic powder, onion powder, or even crushed red pepper for a bit of heat to personalize your breadsticks.
Conclusion
Homemade Cheesy Breadsticks are the ultimate comfort food that brings family and friends together over gooey, cheesy goodness. They are delightful, simple to make, and perfect for any occasion — whether a mid-week meal or a festive gathering. Trust me; once you whip up a batch, you’ll find it hard to resist going back for one more! Try it tonight and let me know how it turned out!

Homemade Cheesy Breadsticks
Ingredients
Method
- In a bowl, dissolve the sugar in warm water and sprinkle the yeast on top. Let it sit for about 5-10 minutes until frothy.
- In a large mixing bowl, combine the flour and salt, stirring well to combine.
- Pour the yeast mixture into the flour mixture and stir until a dough begins to form.
- Stir in the shredded mozzarella and grated Parmesan until evenly distributed; the dough will be slightly sticky.
- Lightly flour a surface and knead the dough for about 5-6 minutes, until smooth and elastic.
- Place the dough in a lightly oiled bowl, cover with a kitchen towel or plastic wrap, and let it rise in a warm place for about 30 minutes, or until doubled in size.
- Preheat your oven to 400°F (200°C).
- Punch down the risen dough and roll it out to your desired thickness on a floured surface.
- Place it on a parchment-lined baking sheet, cut into strips, brush the melted butter on top, and bake for 15-20 minutes or until golden brown.