

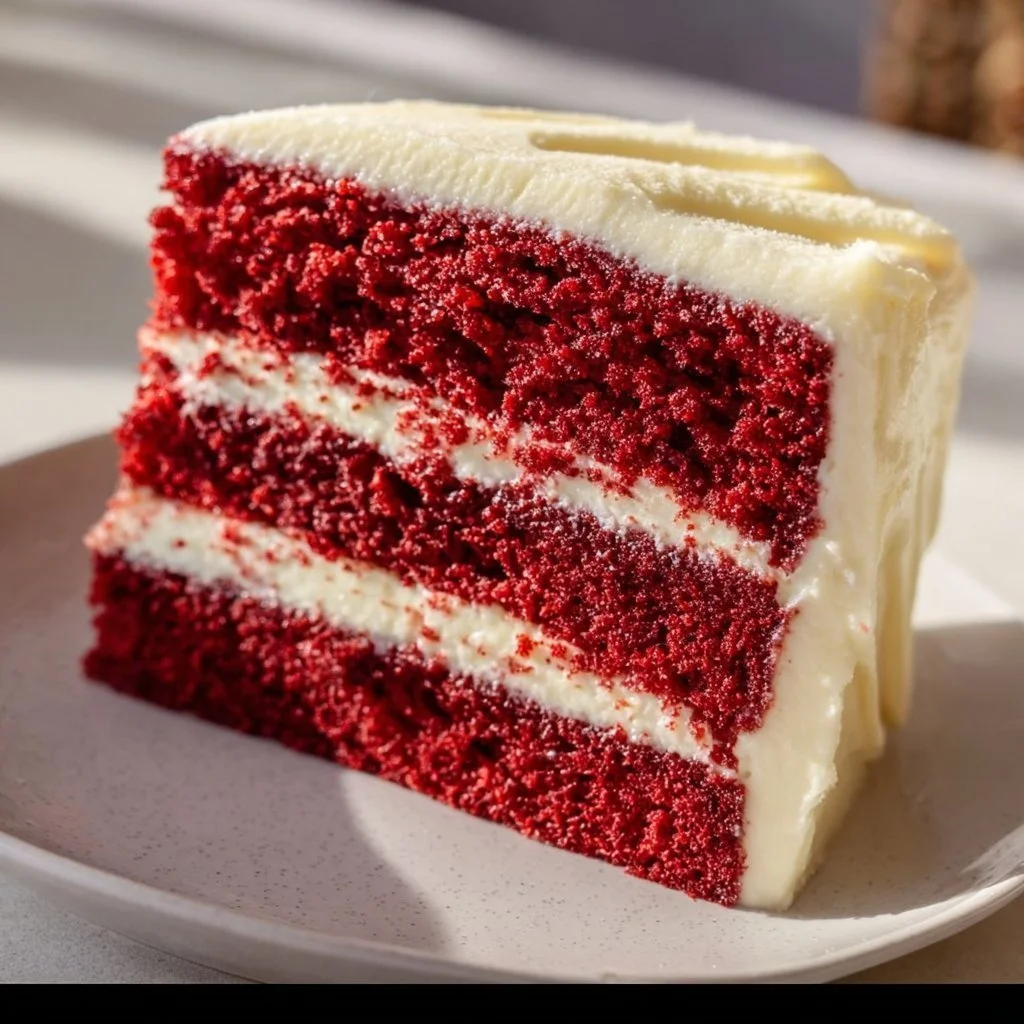
The Ultimate Moist Southern Red Velvet Cake with Classic Cream Cheese Frosting
Red velvet cake is a dazzling dessert that embodies the warmth and hospitality of the South. This recipe for The Ultimate Moist Southern Red Velvet Cake with Classic Cream Cheese Frosting will become a beloved staple in your household. The cake boasts a tender crumb with a rich, cocoa undertone, complemented by the tangy sweetness of luscious cream cheese frosting. The vibrant red hue makes it an eye-catching centerpiece for celebrations, family gatherings, or even a cozy Sunday afternoon treat. With its delightful aroma filling your kitchen as it bakes, this cake is bound to evoke smiles from your loved ones. Get ready to indulge in a classic dessert that is as satisfying to make as it is to eat.
Ingredients
- 2 1/2 cups all-purpose flour: Provides the structure and texture of the cake.
- 1 teaspoon baking soda: A leavening agent that helps the cake rise.
- 1 teaspoon salt: Enhances flavor and balances the sweetness.
- 1 tablespoon unsweetened cocoa powder: Adds a subtle hint of chocolate flavor.
- 1 cup unsalted butter, softened: Contributes richness and moisture to the cake.
- 1 1/2 cups granulated sugar: Sweetens the cake and helps create a light texture.
- 2 large eggs: Bind the ingredients together and add moisture.
- 1 cup buttermilk: Adds tanginess and keeps the cake moist.
- 1 teaspoon white vinegar: Reacts with baking soda for extra leavening and tenderness.
- 1 teaspoon vanilla extract: Infuses warm, sweet flavor.
- 1/4 cup red food coloring (liquid or gel): Gives the cake its signature red hue.
- 8 ounces cream cheese, softened: Provides a creamy, tangy base for the frosting.
- 1/2 cup unsalted butter, softened: Adds richness to the frosting.
- 4 cups powdered sugar, sifted: Sweetens the frosting and creates a smooth texture.
- 1 teaspoon vanilla extract: Enhances the overall flavor of the frosting.
Step-by-Step Instructions
- Preheat your oven to 350°F (175°C). Grease and flour two 9-inch round cake pans to prevent sticking.
- In a medium bowl, whisk together the flour, baking soda, salt, and cocoa powder. Set the mixture aside.
- In a large bowl, beat the softened butter and granulated sugar with an electric mixer until the mixture is light and fluffy. Beat in the eggs one at a time, mixing well after each addition.
- In a small bowl, combine the buttermilk, vinegar, vanilla extract, and red food coloring until well blended.
- Gradually add the dry mixture to the wet ingredients, alternating with the buttermilk mixture, starting and ending with the dry ingredients. Mix until just combined.
- Divide the batter evenly between the prepared cake pans.
- Bake for 30 to 35 minutes, or until a wooden pick inserted into the center comes out clean.
- Allow the cakes to cool in the pans for 10 minutes before transferring to a wire rack to cool completely.
- For the frosting, beat the cream cheese and softened butter together until smooth. Gradually add the powdered sugar, mixing until well combined. Finally, beat in the vanilla extract.
- Once the cakes are cool, place one layer on a serving plate. Spread one-third of the frosting over the top, add the second layer, and frost the top and sides of the cake.
Recipe Details
- Prep Time: 20 minutes
- Cook Time: 35 minutes
- Total Time: 55 minutes
- Servings: 12
- Calories: Approximately 540 per slice
Tips, Storage & Variations
- Tips: Measure your flour correctly by spooning it into the measuring cup and leveling it off for the best results.
- Storage: Store leftover cake in an airtight container in the fridge for up to 4 days.
- Freezing: Wrap the unfrosted cake layers tightly in plastic wrap and freeze for up to 3 months. Thaw in the fridge before frosting.
- Flavor Variations: You can add 1 teaspoon of almond extract for a different flavor.
FAQ
Q: Can I use cake flour instead of all-purpose flour?
A: Yes, you can use cake flour for a lighter texture, but adjust the amount slightly as cake flour is more absorbent.
Q: How can I make my frosting less sweet?
A: To reduce sweetness, you can add a little more cream cheese to balance the sugar.
Q: Can I omit the food coloring?
A: Yes, you can omit the food coloring, but the cake will not have the iconic red color.
Q: Is buttermilk necessary for this recipe?
A: Yes, buttermilk helps achieve the signature moistness and tenderness of the cake.
Q: Can I make this cake gluten-free?
A: You can substitute gluten-free all-purpose flour, but note that the texture may differ slightly.
Q: How do I achieve an even bake?
A: Make sure your oven is preheated correctly, and rotate the pans halfway through baking.
People Also Ask
What is the origin of red velvet cake?
Red velvet cake originated in the Southern United States and became popular in the early 20th century.
How can I decorate my red velvet cake?
You can decorate it with fresh berries, chocolate shavings, or even more cream cheese frosting for a beautiful finish.
What is the best way to serve red velvet cake?
Serve the cake chilled or at room temperature with a dollop of whipped cream on the side.
Can I add nuts to this red velvet cake?
Yes, you can add chopped pecans or walnuts for added texture and flavor.
How long should I let the cake cool before frosting?
Ensure the cakes are completely cool; ideally, let them cool for at least 1 hour.
Can I make mini red velvet cakes?
Yes, use a mini cake pan or muffin tins and adjust the baking time accordingly.
Conclusion
Indulging in a slice of The Ultimate Moist Southern Red Velvet Cake with Classic Cream Cheese Frosting is an experience worth sharing. Its rich flavors and beautiful presentation make it a perfect choice for any occasion. Don’t hesitate to roll up your sleeves and try this delightful recipe at home. Your friends and family will appreciate the effort, and you may just find it becoming a new tradition. Enjoy baking and savor each bite!