
Crunchwrap Casserole: A Weeknight Delight
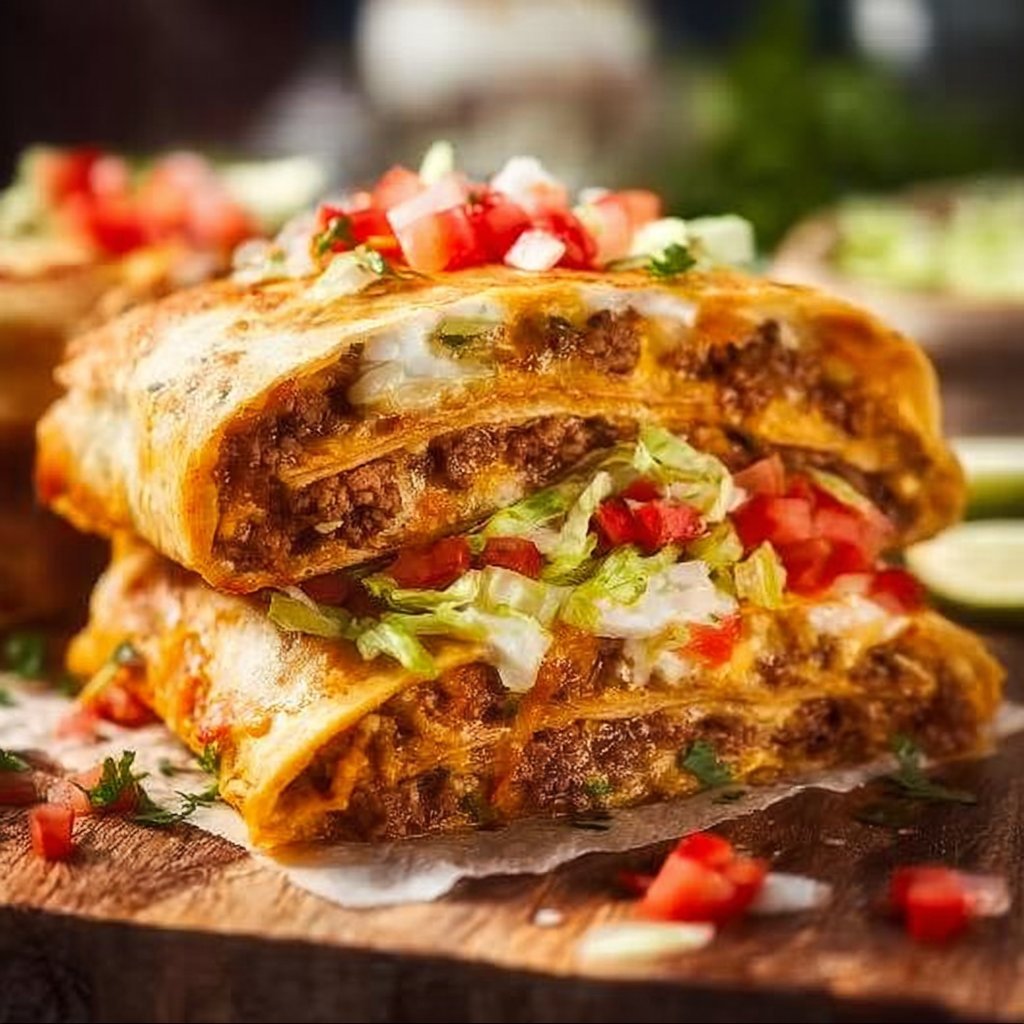
Picture this: the aroma of seasoned ground beef mingling with zesty taco sauce wafts through your kitchen, drawing hungry family members from the living room. Vibrant layers of cheese, beans, and fresh vegetables create a visual feast that beckons for a bite. The Crunchwrap Casserole is a delightful combination of flavors and textures; the crispy edges contrast beautifully with the creamy layers inward. It’s the kind of dish that doesn’t just fill your stomach but warms your heart, making it an exceptional choice for weeknights or large family gatherings. With ease and satisfaction in every bite, this recipe promises to become a staple in your culinary repertoire. So, gather your loved ones around the table and get ready to indulge in a delicious adventure!
What Is Crunchwrap Casserole: A Weeknight Delight?
Originating from the classic Crunchwrap Supreme made famous by fast-food chains, the Crunchwrap Casserole is a homey twist that transforms all those beloved flavors into a hearty casserole dish. This comforting meal is inspired by classic Tex-Mex cuisine, where layers of tortillas, meat, cheese, and fresh toppings meld into one extraordinary creation. One of the great things about the Crunchwrap Casserole is its versatility; it easily lends itself to different cooking methods, whether you prefer a slow cooker, an air fryer, or even a one-pan bake. Each method enhances the flavors uniquely, ensuring a delightful experience regardless of your choice.
The casserole is often served as a main dish and brings everyone to the table with its colorful layers and inviting aroma. It’s perfect for family dinners, casual get-togethers, or even meal prep for the week ahead. Fun fact: The crunch from tortilla chips in this dish pays tribute to the original Crunchwrap Supreme, creating that signature texture everyone craves. Whether you dress it up with toppings like avocado and cilantro or serve it straight from the oven, it’s bound to be a hit that will leave you smiling.
Why You’ll Love This Crunchwrap Casserole
This Crunchwrap Casserole hits the sweet spot between simplicity and flavor, making it an instant favorite. The benefits are compelling, and here’s why you’ll find this recipe a winner:
-
Ease of Preparation: With straightforward steps and basic ingredients, this dish is perfect for beginners. You can throw everything together in minimal time, creating a delicious meal without fuss.
-
Flavor Complexity: Each bite of this casserole tells a story of vibrant spices, hearty ground beef, and gooey cheese that will tantalize your taste buds and satisfy your cravings.
-
Family-Friendly or Kid-Approved: Its fun texture and familiar flavors make it a top choice among kids and adults alike. You can even invite your kids to help build the layers!
-
Budget-Friendly or Ingredient Flexibility: Using common pantry staples, this recipe can easily adapt to your family’s dietary preferences or what’s currently in your fridge. Be it vegetarian beans or gluten-free tortillas, the possibilities are endless.
-
Make-Ahead Convenience: Perfect for meal prep, you can whip this dish up on a Sunday and enjoy warm leftovers throughout the week, ensuring that busy nights are less stressful.
Let’s Cook Crunchwrap Casserole at Home
Making this wonderful dish is as easy as pie! With a cooking time of about 30 minutes and minimal prep, you’ll be enjoying this comforting casserole in no time. You will need a few kitchen essentials—like a large skillet and a baking dish—and you’ll be ready to create a dinner masterpiece.
Ingredients:
- 1 lb ground beef: Provides heartiness and protein; can be substituted with turkey or plant-based meat.
- 1 packet taco seasoning: Infuses the dish with a zesty kick.
- 1 can (15 oz) black beans, drained: Adds fiber and texture; feel free to use pinto beans as an alternative.
- 1 cup salsa: Offers tang and moisture; any salsa will work, or try a spicy one for extra heat.
- 4 large flour tortillas: The base of this dish; you can replace them with corn tortillas for a gluten-free option.
- 2 cups shredded cheddar cheese: Melts perfectly, providing richness; try Monterey Jack or Mexican blend for a twist.
- 1 cup crushed tortilla chips: Adds a satisfying crunch; you can leave this out for a softer texture.
- Optional toppings: Chopped cilantro, diced avocado, or sour cream for added freshness.
Directions:
-
Preheat the oven to 375°F (190°C). The ideal temperature for achieving a golden-brown crust for your casserole layers.
-
Cook the ground beef in a large skillet over medium heat. As it browns, the savory aroma will fill your kitchen, taking about 5-7 minutes. Drain excess grease if necessary, and stir in the taco seasoning, allowing the flavors to blend.
-
Stir in the black beans and salsa into the skillet with the cooked beef. Mix until everything is well combined, about 2-3 minutes. The colors should brighten, and the mixture will become fragrant.
-
Layer the tortillas in a baking dish, forming a base. Place half of the beef and bean mixture on top, followed by a sprinkle of cheddar cheese. Repeat the layering process with additional tortillas, remaining beef mixture, and cheese layers.
-
Top with crushed tortilla chips for added texture and delicious crunch. This step is essential to achieving that signature crunchy topping we all love.
-
Bake for 20-25 minutes, or until the cheese is bubbling and golden brown. The bake time ensures all flavors meld together while the top becomes irresistible.
-
Let it cool for about 5-10 minutes before serving. This resting period allows the casserole to set, enhancing each slice’s texture and making it easy to serve.
Delicious Pairings for Crunchwrap Casserole
Serving a dish like Crunchwrap Casserole is an opportunity to get creative with sides. It pairs wonderfully with:
- Mexican street corn salad, which offers a bright contrast with its creamy, tangy flavor.
- Guacamole and tortilla chips, adding a refreshing element that complements the casserole’s richness.
- A simple green salad, providing a crisp, light option that balances out the hearty casserole.
- Slicks of sour cream or Greek yogurt, which cool the dish’s spices and add a luxurious touch.
- A fruity salsa like mango or pineapple can bring a delightful sweetness alongside the savory flavors.
Pro Tips for the Best Crunchwrap Casserole
Understanding the cooking technique can elevate your dish to new heights. Here are some handy tips:
-
Ingredient Swaps: Want a meatless version? Use lentils or soy crumbles instead of beef. You can also experiment with other beans, such as kidney or chickpeas.
-
Spice Adjustments: If you like heat, consider adding jalapeños or a sprinkle of cayenne pepper to the beef mixture for an extra kick.
-
Storage Tips: Use an airtight container to store leftovers in the fridge; it can last up to 3-4 days.
-
Mistakes to Avoid: Don’t skip the resting time after baking; slicing too soon can lead to a messy serving and loss of texture.
Variations & Add-Ins
Consider these flavorful alternatives to customize your Crunchwrap Casserole:
-
Veggie Delight: Substitute the beef with a variety of sautéed vegetables like bell peppers, mushrooms, and zucchini for a colorful, plant-based version.
-
BBQ Crunchwrap: Swap the salsa for barbecue sauce and add shredded chicken instead of beef, giving this dish a smokier flavor.
-
Spicy Fiesta: Incorporate chipotle peppers in adobo sauce into the beef mixture for a smoky, spicy twist.
Kid-Friendly Version
To make this casserole even more appealing to kids, consider toning down the spices and adding fun elements such as mini tortilla shapes. You can also involve them in the assembly process, allowing them to layer their favorite toppings. Swap the cheddar cheese for a milder cheese like mozzarella to cater to sensitive palates. Making it a fun dinner activity encourages them to try new flavors while building essential cooking skills!
Storing and Reheating Tips
For optimal storage, place your leftover Crunchwrap Casserole in an airtight container. It can safely stay in the refrigerator for 3-4 days, but you can also freeze it for up to three months. If freezing, be sure to divide it into smaller portions for easy reheating.
When it comes to reheating, you have options! The oven is the best method for maintaining the casserole’s crispy edges. Preheat to 350°F (175°C), cover with foil, and warm for 15-20 minutes. For a quicker method, the microwave works well—simply reheat in 30-second intervals, ensuring it heats evenly without losing texture.
FAQs
Can I prepare the Crunchwrap Casserole ahead of time?
Absolutely! You can assemble the casserole and store it in the refrigerator overnight before baking. Just be sure to cover it well to keep it fresh.
What can I substitute for the ground beef?
Ground turkey or plant-based alternatives like lentils or black bean mixes work beautifully.
How can I adjust the flavors for dietary restrictions?
You can swap heavy ingredients like cheese for vegan versions and choose gluten-free tortillas to suit dietary needs.
What’s the best way to reheat leftovers?
Use the oven for crispy results but the microwave can work in a time crunch—just remember to stir occasionally!
Can I use something other than tortillas in this recipe?
Yes! You could use layers of cooked quinoa or rice for a gluten-free base, but tortillas add that unique texture crunch.
Conclusion
Crunchwrap Casserole: A Weeknight Delight is your ultimate ticket to a satisfying, stress-free dinner that brings the family together. Its blend of flavors, ease of preparation, and customizable nature make it a winner time and again. You’ll find that every bite is filled with warmth and comfort, wrapping you in a cozy blanket of flavor. Dive in and discover why this recipe deserves a spot in your weekly rotations. Try it tonight, and let me know how it turned out!
Crunchwrap Casserole
Ingredients
Method
- Preheat the oven to 375°F (190°C).
- Cook the ground beef in a large skillet over medium heat for about 5-7 minutes until browned and fragrant. Drain excess grease if necessary, and stir in the taco seasoning.
- Add the black beans and salsa into the skillet with the cooked beef, mixing well for about 2-3 minutes.
- Layer tortillas in a baking dish. Add half of the beef and bean mixture followed by a sprinkle of cheddar cheese. Repeat the layers with the remaining tortillas, beef mixture, and cheese.
- Top the dish with crushed tortilla chips.
- Bake the casserole for 20-25 minutes or until the cheese is bubbling and golden brown.
- Let it cool for about 5-10 minutes before serving.