
Matilda’s Chocolate Cake: A Family Favorite
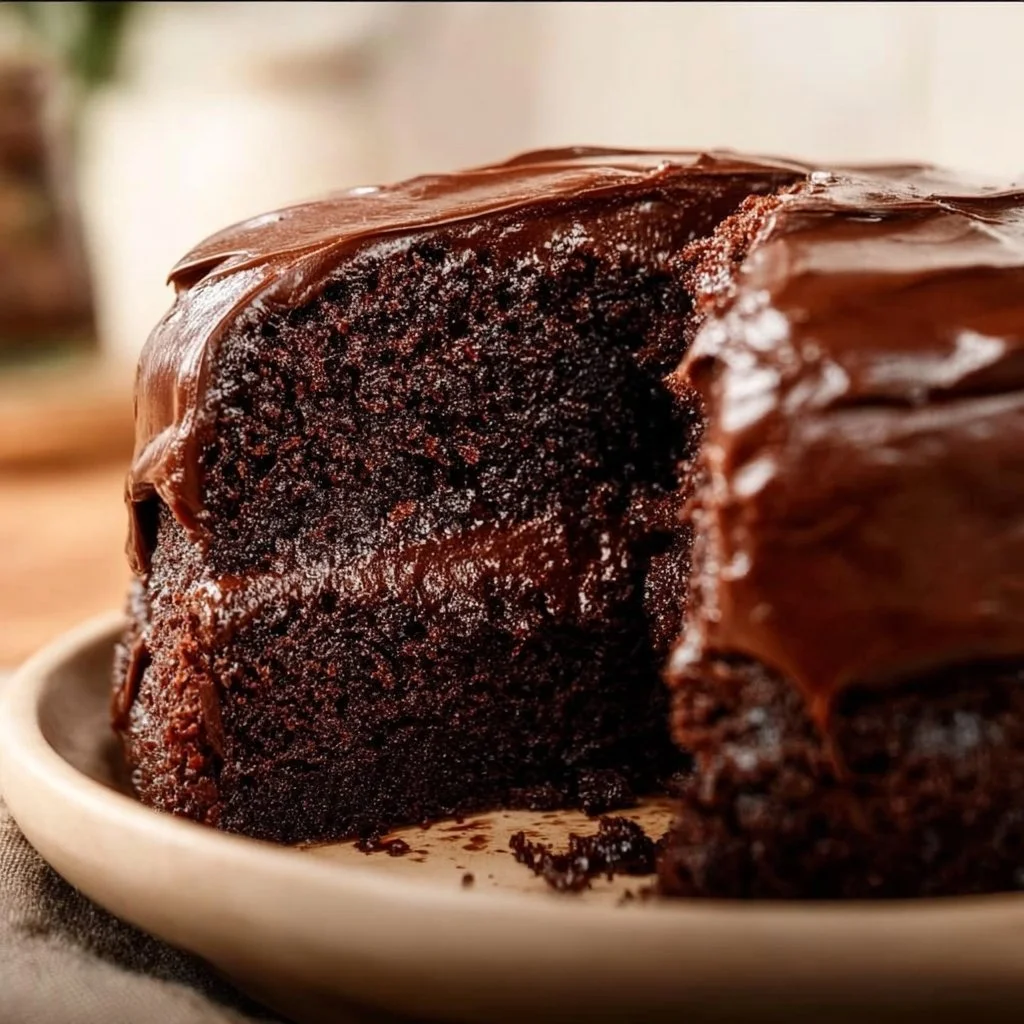
Have you ever tasted a cake that feels like a warm hug? Matilda’s Chocolate Cake is just that! This delightful dessert envelops your senses with its rich, deep chocolate aroma wafting through your kitchen, making everyone eager to take a bite. The moment you cut into this cake, you’re treated to a velvety texture, perfectly complemented by a glossy frosting that promises a sweet, decadent experience. With its inviting dark color and tender crumb, it’s the perfect cake for both weeknights when you need a comforting treat and special gatherings that call for something truly memorable. I invite you to whip up this easy and scrumptious recipe and create delicious memories with your loved ones.
Understanding this recipe
Matilda’s Chocolate Cake draws inspiration from classic chocolate cake recipes, infusing them with a modern twist that makes them both approachable and heartwarming. The origin of the chocolate cake can be traced back to the early 19th century, and over the years, it has become a staple in American households. This cake is not just about rich flavors; it’s about the joy that comes from baking it together with family and friends—each bite offering a nostalgic taste of home. While traditional chocolate cakes can sometimes require complicated steps, this recipe utilizes simple techniques to enhance convenience without compromising flavor or texture.
The beauty of this cake is how it adapts beautifully to various cooking methods. Using an air fryer, for example, can speed up the baking process while ensuring a delightfully moist texture. Not only does this help to maintain accuracy in baking times, but it also yields a batch of cake that’s perfectly risen with a soft crumb. Whether it’s served at birthday parties, holiday gatherings, or simply on a quiet evening at home, Matilda’s Chocolate Cake has a special place in our culinary traditions. Fun fact: the cake’s beloved richness often makes it a go-to for celebrations, thanks to its ability to please both children and adults alike.
Why You’ll Love This Matilda’s Chocolate Cake
There are countless reasons why Matilda’s Chocolate Cake is destined to become a favorite in your kitchen.
-
Ease of Preparation: With straightforward steps and common ingredients, this recipe is perfect for bakers of any skill level. The delightful result will impress your family and friends, giving the appearance of a professional dessert without the intricate techniques.
-
Flavor Complexity: Each slice delivers a depth of flavor—think dark cocoa mingled with subtle hints of vanilla and a touch of espresso that brings the chocolate to life. The cake’s moist texture is the result of using buttermilk, which not only adds flavor but also tenderness.
-
Family-Friendly or Kid-Approved: Children love chocolate, and this cake is no exception. The rich frosting and fluffy cake layers make it a beloved choice for kids’ birthday parties or a sweet family treat.
-
Budget-Friendly or Ingredient Flexibility: This recipe allows you to swap out particular ingredients according to what you have on hand, making it easy to adapt to your pantry. Whether you need a gluten-free variation or want to use whichever chocolate you have, this cake can accommodate.
If you’re ready to bring joy to your table, let’s get cooking!
Your Guide to Making Matilda’s Chocolate Cake at Home
Making Matilda’s Chocolate Cake is a delightful journey that you’ll surely relish. The process includes gathering your favorite tools and ingredients, prepping your batter, and watching it rise perfectly in the oven. With an estimated prep time of about 15 minutes and a baking time of 30-35 minutes, you’ll have this cake ready to enjoy in no time.
Ingredients
- Flour (2 cups): Provides the structure and holds the cake together.
- Granulated Sugar (2 cups): Supplies sweetness and moisture.
- Cocoa Powder (3/4 cup): The star ingredient; rich cocoa gives the cake its deep chocolate flavor.
- Baking Powder (1 1/2 teaspoons): Helps the cake rise and achieve that light texture.
- Baking Soda (1 1/2 teaspoons): Works together with baking powder for a perfect rise.
- Salt (1 teaspoon): Balances the sweetness and enhances flavor.
- Eggs (2 large): They add moisture and richness to the batter.
- Buttermilk (1 cup): Creates tenderness and adds a slight tang.
- Vegetable Oil (1 cup): Keeps the cake moist without being heavy.
- Vanilla Extract (2 teaspoons): Adds warmth and depth to the flavor.
- Espresso Powder (1 teaspoon): A secret touch that intensifies the chocolate flavor (optional).
Directions
- Preheat the Oven: Begin by preheating your oven to 350°F (175°C). This step ensures that your cake bakes evenly.
- Prepare Baking Pans: Grease and flour two 9-inch round cake pans. This prevents the cake from sticking and allows for easy removal.
- Mix Dry Ingredients: In a large bowl, whisk together the flour, cocoa powder, baking powder, baking soda, and salt until combined. Allow the dry ingredients to aerate, which contributes to a fluffier cake.
- Combine Wet Ingredients: In another bowl, blend the sugar, eggs, buttermilk, oil, and vanilla extract. Beat until smooth. The mix should be velvety and fragrant.
- Incorporate All Together: Gradually add the dry mix to the wet mix, stirring gently until just combined. Be careful not to over-mix; a few lumps are perfectly okay.
- Pour and Bake: Divide the batter evenly into the prepared pans. Bake for 30-35 minutes or until a toothpick inserted in the center comes out clean.
- Cool Down: Allow the cakes to cool in the pans for about 10 minutes. Then, carefully remove and let them cool completely on wire racks. You should enjoy the enticing chocolate aroma filling your kitchen!
What to Serve With Matilda’s Chocolate Cake
Serving Matilda’s Chocolate Cake is as enjoyable as baking it. You can offer it plain or elevate it with various toppings to create a show-stopping dessert.
- Fresh Berries: Serve with a side of raspberries or strawberries for a fruity contrast that balances the cake’s richness.
- Whipped Cream: A dollop of freshly whipped cream provides a light, airy texture that complements the dense chocolate beautifully.
- Ice Cream: Pair it with a scoop of vanilla bean ice cream for a classic combination that’s hard to resist on a warm day.
- Chocolate Sauce: Drizzle on some warm chocolate sauce for an indulgent treat that heightens the chocolate experience.
- Coffee: This cake goes wonderfully with a cup of coffee, allowing you to savor the flavors together in a perfect pairing.
Top Tips for Perfecting Matilda’s Chocolate Cake
Perfecting Matilda’s Chocolate Cake revolves around a few essential techniques to ensure delicious results every time.
-
Ingredient Swaps: Finally, feel free to swap all-purpose flour for gluten-free blends if needed. Almond flour offers a unique flavor twist for those seeking alternatives.
-
Spice Adjustments: Experiment by adding a pinch of cinnamon for a hint of warmth or even a dash of peppermint extract for a holiday twist.
-
Equipment Advice: Avoid overmixing the batter to keep the cake light. Using a rubber spatula instead of a whisk during the final mixing stage can help maintain that tender crumb.
-
Storage Tips: Store any leftovers in an airtight container at room temperature for up to three days. For longer shelf life, wrap slices tightly in plastic wrap and refrigerate.
-
Mistakes to Avoid: The most common mistake is not allowing the cake to cool before frosting; doing this will result in a melted mess rather than a beautifully frosted finish.
Variations & Add-Ins
If you’re looking to jazz up Matilda’s Chocolate Cake, consider a few delicious variations.
-
Mint Chocolate Chip: Add peppermint extract to the batter and fold in chocolate chips for a refreshing twist that brings a splash of flavor.
-
Spicy Chocolate: Incorporate a teaspoon of cayenne pepper or chili powder in the dry ingredients for a spicy kick that pairs excellently with chocolate.
-
Coffee Infusion: Instead of water, incorporating brewed coffee instead of water can intensify the chocolate flavor even further, making for a bold taste.
These variations can create exciting new experiences while keeping the delightful essence of Matilda’s Chocolate Cake.
Kid-Friendly Version
When baking for kids, it’s all about fun and creativity! Consider making Matilda’s Chocolate Cake even more appealing to children by adjusting the frosting. Use a simple vanilla buttercream for a light and sweet topping that’s less intense than chocolate frosting. You could also let them help decorate the cake with sprinkles or fruit. For added excitement, could consider using themed cake toppers to make it suitable for birthdays or other special occasions. Sweetening the cake batter slightly, or even incorporating mini chocolate chips within the batter, can make it an irresistible treat for little ones.
Storing and Reheating Tips
To ensure that your Matilda’s Chocolate Cake stays fresh and delicious, proper storage is key. You can keep the cake at room temperature for up to three days, stored in an airtight container. If you prefer to keep it longer, you can refrigerate it for up to a week. Just be sure to cover the cake well to prevent it from drying out. If you’ve cut slices or have a whole cake left, a cake dome or cloche works beautifully to retain moisture and keep each slice decadent.
When reheating, consider your method be it the oven, microwave, or air fryer. If using an oven, wrap a slice in foil and heat at 350°F (175°C) for about 10 minutes for a warm, fresh-baked taste. The microwave is quicker: simply heat for about 20-30 seconds, but keep an eye on it to avoid drying out. For the air fryer, wrap it in foil and cook at 300°F (150°C) for roughly five minutes. If you prefer freezing, simply wrap slices tightly in plastic wrap and then in aluminum foil before placing them in the freezer. To thaw, move them to the refrigerator overnight and let them come to room temperature.
FAQs
Q: Can I prep the batter ahead of time?
A: Absolutely! You can prepare the batter a few hours ahead of time and store it in the refrigerator. Just be sure to bring it to room temperature before baking for even results.
Q: Can I substitute other flours?
A: Yes, you can use gluten-free flour blends to make this cake gluten-free. Most blends work well in place of all-purpose flour and maintain the cake’s tenderness.
Q: What if I want to make a smaller cake?
A: You can halve the recipe to create a smaller 6-inch cake, adjusting the baking time accordingly. Check for doneness around the 20-minute mark to ensure a moist texture without overbaking.
Q: Can I freeze the cake?
A: Yes, you can freeze the cake for up to three months. Just be sure to wrap it tightly as mentioned earlier. Let it thaw in the refrigerator before serving.
Q: How can I make this cake dairy-free?
A: Substitute buttermilk with non-dairy alternatives such as almond milk or soy milk mixed with vinegar. Use a dairy-free buttery spread in place of regular butter for the frosting, ensuring a deliciously smooth finish.
Conclusion
There you have it—Matilda’s Chocolate Cake, a heartfelt treat that wraps all of your loved ones in its sweet embrace. Its delectable flavor, cozy aroma, and satisfying texture make this cake the perfect addition to any gathering or a delightful midweek pick-me-up. Prepare to savor every bite as you bond with family, celebrate life’s moments, or simply treat yourself to something special. Try it tonight and let me know how it turned out!

Matilda's Chocolate Cake
Ingredients
Method
- Preheat your oven to 350°F (175°C).
- Grease and flour two 9-inch round cake pans.
- In a large bowl, whisk together the flour, cocoa powder, baking powder, baking soda, and salt until combined.
- In another bowl, blend the sugar, eggs, buttermilk, oil, and vanilla extract until smooth.
- Gradually add the dry mix to the wet mix, stirring gently until just combined.
- Divide the batter evenly into the prepared pans.
- Bake for 30-35 minutes or until a toothpick inserted in the center comes out clean.
- Allow the cakes to cool in the pans for about 10 minutes. Then, carefully remove and let them cool completely on wire racks.