
The Irresistible Peanut Butter Blossoms
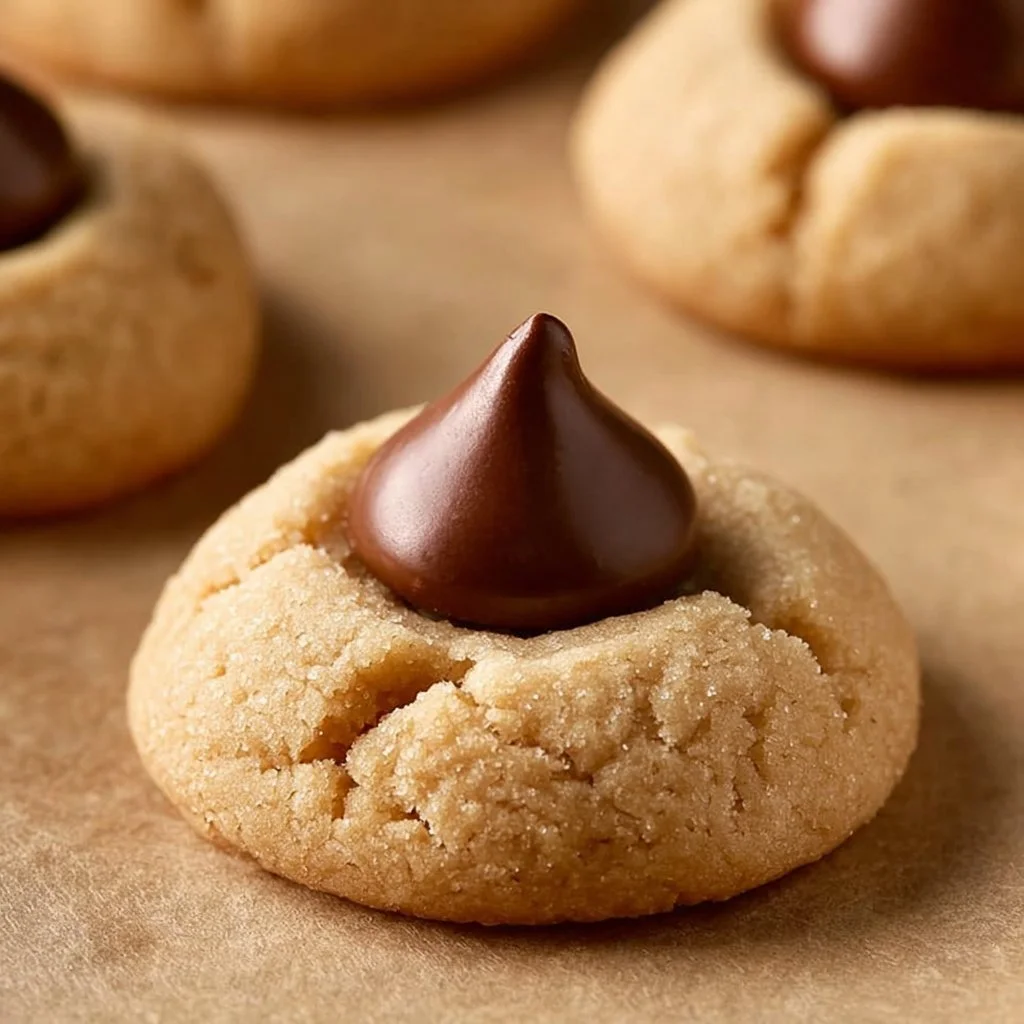
There’s something utterly heartwarming about the smell of cookies baking in the oven—especially when those cookies are the delightful Peanut Butter Blossoms. Picture this: a batch of golden-brown cookies filled with a luscious peanut butter flavor, each crowned with a rich, chocolatey kiss. When you take a bite, the creamy texture of the peanut butter combines perfectly with the subtle crunch of the cookie, creating a tantalizing experience for your senses. Whether you’re whipping these up for a family get-together or a cozy weekday treat, Peanut Butter Blossoms are both easy and flavorful. Your kitchen will soon be filled with the sweet aroma of baking, making it a comforting space that invites everyone in. So why not dive into this sweet adventure? I promise, you won’t be disappointed!
A Closer Look at Peanut Butter Blossoms
Peanut Butter Blossoms have a charmingly simple origin, tracing back to the mid-20th century in America. These cookies reflect a delightful interplay of flavors and textures, with a satisfying chewiness from the peanut butter and a melty chocolate center that provides a burst of sweetness. They became famously known when they were featured in the "Peanut Butter Lovers Cookbook" in the 1950s and quickly garnered hearts across the nation. Typically served during holiday gatherings or as an after-school snack, they’re a beloved favorite among both kids and adults.
One of the best parts about making Peanut Butter Blossoms is the convenience they offer throughout various cooking methods. You can bake them in a traditional oven or even experiment with your air fryer for a quicker, crispy finish. However, no matter which method you choose, these cookies always emerge with a delightful combination of crunchy edges and soft, pillowy centers. This recipe not only satisfies your sweet tooth but also serves as a nostalgic trip down memory lane, igniting fond childhood recollections of baking with family.
Why You’ll Love This Recipe
Peanut Butter Blossoms are certainly deserving of a spot in your recipe repertoire, and here’s why:
- Ease of Preparation: With just a handful of ingredients, these cookies come together in no time at all. The straightforward steps ensure that even novice bakers can create a batch without feeling overwhelmed.
- Flavor Complexity: The lovely contrast between the nutty, savory peanut butter and the sweet chocolate kiss creates a mouthwatering experience that’s both comforting and indulgent.
- Family-Friendly or Kid-Approved: Kids love both peanut butter and chocolate, making these cookies a surefire hit. They are perfect for involving your little ones in the kitchen!
- Budget-Friendly or Ingredient Flexibility: Many of the ingredients are pantry staples, which means you won’t need to spend a fortune to whip up these treats. Plus, they can be adapted to suit dietary restrictions or preferences.
Let’s Cook Peanut Butter Blossoms at Home
Making a batch of Peanut Butter Blossoms is a delightful experience that doesn’t require advanced baking skills. In just about 30 minutes, you can have fresh cookies on your table. Gather your trusty mixing bowl, measuring cups, and baking sheets—let’s get started!
Ingredients
- 1 cup creamy peanut butter: The star of this recipe, it adds moisture and flavor.
- 1 cup granulated sugar: Sweetens the cookies and helps create a beautiful crust.
- 1 cup brown sugar: Introduces a lovely depth of flavor and moisture.
- 1 large egg: Acts as a binder for the ingredients, ensuring your cookies hold their shape.
- 1 teaspoon vanilla extract: Infuses a warm undertone to the overall flavor.
- 2 cups all-purpose flour: Provides the essential structure for the cookies.
- 1 teaspoon baking soda: Helps the cookies rise and create a fluffy texture.
- 1/2 teaspoon salt: Balances the sweetness and enhances the peanut butter flavor.
- 24 chocolate kisses: The delightful cherry on top!
Directions
- Preheat your oven: Start by preheating your oven to 350°F (175°C). This ensures your cookies bake evenly.
- Mix the wet ingredients: In a large bowl, combine the peanut butter, granulated sugar, brown sugar, egg, and vanilla extract. Mix until smooth and creamy—you should see a beautiful rich, peanut butter color.
- Blend in the dry ingredients: In a separate bowl, whisk together the flour, baking soda, and salt. Gradually add this mixture to the wet ingredients, and mix until just combined. Be careful not to overmix; a little bit of flour visible is perfect.
- Scoop and roll: Using a cookie scoop or tablespoon, take small portions of dough and roll them into balls (about 1 inch in diameter). Roll each ball into granulated sugar to give it a sweet sparkle.
- Bake the cookies: Place the dough balls onto ungreased baking sheets, leaving about 2 inches between each cookie. Bake for 10-12 minutes, or until the edges are golden brown and the tops are just starting to crack.
- Add the chocolate kisses: Immediately after taking the cookies out of the oven, press a chocolate kiss into the center of each cookie gently. Let them cool on the baking sheet for a few minutes before transferring to a wire rack.
- Enjoy: Once completely cooled, serve and enjoy your freshly baked Peanut Butter Blossoms! The aroma will entice everyone, and the taste will surely make them smile.
Serving Ideas for Peanut Butter Blossoms
Peanut Butter Blossoms are perfect for a cozy tea time or as a delightful dessert at family gatherings. Their rich peanut butter flavor pairs beautifully with a variety of drinks.
- Glass of Milk: A classic pairing that balances the sweetness and complements the nuttiness beautifully.
- Coffee or Espresso: For the adults, a robust coffee or a shot of espresso enhances the chocolate and nutty flavors, creating a perfect afternoon treat.
- Chocolate Milk: Not just for kids! A chilled chocolate milkshake feels indulgent while complementing the cookies’ flavor perfectly.
Pro Tips for the Best Peanut Butter Blossoms
Getting the technique right can make all the difference when baking. Here are some tips for excellent results:
- Ingredient Swaps: You can also use almond butter or sun butter for a nut-free alternative to peanut butter.
- Spice Adjustments: For a twist, add a pinch of cinnamon or some chocolate chips for extra sweetness.
- Equipment Advice: Invest in a good-quality baking sheet; it can make a world of difference in how your cookies bake!
- Storage Tips: Store your cookies in an airtight container to keep them soft and chewy for days.
- Mistakes to Avoid: Avoid overbaking! You want the cookies to look slightly underbaked when you pull them out for the perfect texture.
Variations & Add-Ins
Feel free to experiment with your Peanut Butter Blossoms for even more flavor!
- Reese’s Pieces: Fold some semi-chocolate or peanut butter chips into the dough for added texture and a pop of color!
- Sprinkles: Before baking, roll the cookie dough balls in colorful sprinkles for a fun and festive touch, perfect for parties.
- Nutritional Upgrades: For a healthier take, consider adding oats or using whole wheat flour for additional fiber.
Kid-Friendly Version
To make these cookies even more engaging for children, involve them in the decorating process! Let them place the chocolate kisses on top after baking while the cookies are still warm. You could also provide colorful sprinkles to add a festive touch. Additionally, for younger kids, using mini cookie cutters to shape the dough could be a fun activity.
Storing and Reheating Tips
To keep your Peanut Butter Blossoms as fresh as possible, you’ll want to store them properly. Allow your cookies to cool completely before placing them in an airtight container. They can be stored at room temperature for up to one week, but for longer shelf life, consider refrigerating them. If using the fridge, make sure to separate layers with parchment paper to prevent sticking.
When it comes to reheating, the microwave is the quickest option—simply microwave for 10-15 seconds until warmed through. Alternatively, for a crispier finish, pop them in the oven at 350°F (175°C) for about 5 minutes. If you plan on freezing the cookies, wrap them individually in plastic wrap and store them in a freezer-safe container. Thaw them at room temperature when you’re ready to enjoy a sweet treat again.
FAQs
Q: Can I prep these cookies ahead of time?
A: Absolutely! You can prepare the dough in advance and store it in the refrigerator for up to three days. Just roll the cookies and bake them right before you’re ready to serve.
Q: What can I substitute for peanut butter?
A: If you need a nut-free alternative, sun butter (made from sunflower seeds) is a great option. It mimics the texture and flavor of peanut butter without being an allergen.
Q: How do I make these gluten-free?
A: Simple! Substitute regular flour with a good-quality gluten-free flour blend. The texture may slightly vary, but they will still taste delicious.
Q: Can I freeze the cookies?
A: Yes, these cookies freeze beautifully! Just make sure they are cooled completely, wrap them tightly, and they can last up to 3 months in the freezer.
Conclusion
Peanut Butter Blossoms are more than just cookies; they are a warm, delicious embrace that invites joy into every bite. With their irresistible combination of sweet and savory flavors, they create perfect moments with family and friends, whether at a holiday gathering or an everyday snack. So, roll up your sleeves and give this simple yet delightful recipe a try. I promise you’ll be baking these again and again! Try it tonight and let me know how it turned out!

Peanut Butter Blossoms
Ingredients
Method
- Preheat your oven to 350°F (175°C).
- In a large bowl, combine the peanut butter, granulated sugar, brown sugar, egg, and vanilla extract. Mix until smooth and creamy.
- In a separate bowl, whisk together the flour, baking soda, and salt. Gradually add this mixture to the wet ingredients, and mix until just combined.
- Using a cookie scoop or tablespoon, take small portions of dough and roll them into balls (about 1 inch in diameter). Roll each ball into granulated sugar.
- Place the dough balls onto ungreased baking sheets, leaving about 2 inches between each cookie.
- Bake for 10-12 minutes, or until the edges are golden brown and the tops are just starting to crack.
- Immediately after taking the cookies out of the oven, press a chocolate kiss into the center of each cookie gently.
- Let them cool on the baking sheet for a few minutes before transferring to a wire rack.
- Once completely cooled, serve and enjoy your freshly baked Peanut Butter Blossoms!